Sticky windows, a bathroom mirror that never fully clears, and closets that smell faintly of mildew. These are the daily tells of high humidity in an apartment. Renters usually can’t install ductwork, cut new vents, or run a whole house system, which makes learning how to reduce humidity in apartment naturally more of a puzzle than a quick fix. The good news is, you don’t need a landlord’s permission or a $300 appliance to pull real moisture out of the air. A handful of habits and a few cheap supplies can make a noticeable difference within days.
Table of Contents
Key Takeaways
- Cross ventilate for 15 to 20 minutes during the coolest part of the day to flush out damp air.
- A DIY rock salt or calcium chloride dehumidifier can visibly collect water within 24 to 48 hours.
- Cooking and showering push more moisture into apartment air than most renters expect, so lids and exhaust fans matter more than most people think.
- Charcoal briquettes and baking soda work as passive moisture absorbers in closets, bathrooms, and other small rooms.
- Skip indoor air drying for laundry, because a single load can release close to a half gallon of water vapor into your living space.
Why Apartments Trap Humidity Faster Than Houses
Small square footage concentrates moisture. A house with 2,000 square feet spreads the water vapor from a shower or a boiling pot across a much larger volume of air, while a 700 square foot one bedroom apartment has nowhere for that moisture to go.
Ventilation is often limited, too. Many units have windows on only one or two walls, which blocks the cross breeze that naturally pushes damp air out and pulls dry air in. Add a shared HVAC system that doesn’t dehumidify well, a ground floor unit near soil moisture, or a north facing exposure that never gets direct sun, and humidity has every reason to linger.
The Environmental Protection Agency recommends keeping indoor relative humidity between 30% and 50% to limit mold growth and dust mite activity. Above that range, wood swells, mirrors fog, and fabric starts to feel damp even when it is clean. Below 30%, skin and sinuses dry out, but for most apartment dwellers, the problem sits on the high end.
How to Reduce Humidity in Apartment Naturally: 7 DIY Hacks
None of these methods require drilling into walls or replacing appliances. Most cost less than $20 and use materials you can find at a hardware store or grocery store.
1. Time Your Ventilation Right
Opening a window sounds obvious, but timing decides whether it helps or backfires. Check the outdoor humidity on a weather app before you open anything, because if it reads higher than what is inside your apartment, you’ll pump more moisture in, not less.
In most climates, early morning, before 9 a.m., and after sunset offer the lowest outdoor humidity of the day. Open windows on opposite sides of the apartment for 15 to 20 minutes to create a genuine cross breeze rather than just a trickle of air near one window.
A box fan pointed outward in one window while another window stays open across the room speeds this up considerably. In my experience, this single habit, done consistently for a week, drops the musty smell in a bedroom faster than any spray or candle.
Winter changes the math. Cold outdoor air holds far less moisture than warm air, so a 5 to 10 minute burst of ventilation in January can dry out a stuffy apartment fast, even though it feels counterintuitive to crack a window when it is freezing outside. If drafts around your window frames are eating into your heat between airings, sealing the gaps helps you ventilate on your own schedule instead of leaking air all day. Read also how to stop drafts around windows in an apartment.
2. Build a DIY Rock Salt or Calcium Chloride Dehumidifier
Rock salt and calcium chloride pull water vapor out of the air through a process called deliquescence. The salt absorbs moisture until it dissolves into a brine. It is the same chemistry behind commercial moisture absorbing tubs sold at hardware stores, just built at home for a fraction of the price.
- Take two 5 gallon buckets and drill or poke 15 to 20 small holes in the bottom of one bucket.
- Fill that bucket with 2 to 3 pounds of rock salt, or calcium chloride, which works faster.
- Nest the drilled bucket inside the solid one, leaving a gap so liquid can collect below.
- Set it in the most humid room, usually a bathroom or bedroom closet, and check it every 2 to 3 days.
You’ll see visible liquid pooling at the bottom within 24 to 48 hours in a genuinely damp room. Empty and refill the salt once it stops absorbing well, usually every 1 to 2 weeks depending on how humid the space stays.
3. Put Charcoal Briquettes to Work
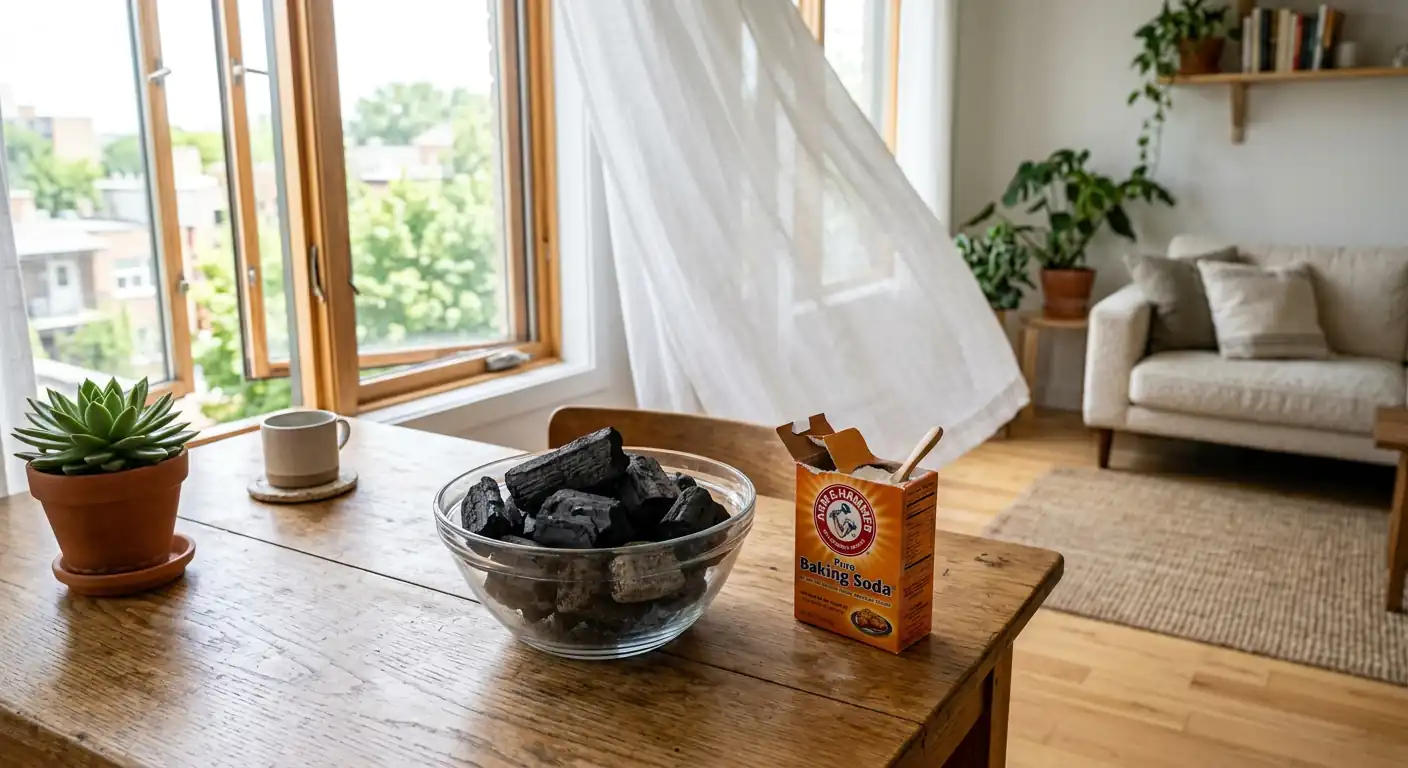
Plain, untreated charcoal briquettes act as a slow, passive moisture and odor absorber. Skip the lighter fluid soaked kind sold for grilling. Look for natural hardwood charcoal or activated charcoal sold specifically for air purifying, since it has more surface area and works faster.
Fill a shallow bowl or an open mesh bag with 8 to 10 briquettes and place it in a closet, under the bathroom sink, or near a window that tends to sweat. Refresh the charcoal every 4 to 6 weeks by baking it in the oven at 250°F for 1 hour, which drives off the absorbed moisture and lets you reuse the same batch.
This method won’t dry out a whole apartment. What it does well is manage the small, enclosed spaces, like closets, cabinets, and shoe racks, where mustiness shows up first and lingers longest.
4. Cut Moisture at the Source in the Kitchen and Bathroom
Cooking and bathing generate more water vapor than most renters realize. A single pot of boiling pasta water releases roughly a pint of moisture into the air over 20 minutes if left uncovered, and a hot shower can add close to a pint more.
- Cover pots and pans while cooking, because a lid cuts released steam by a wide margin.
- Run the kitchen exhaust fan, or a box fan aimed out a nearby window, while boiling, frying, or steaming.
- Turn on the bathroom exhaust fan during your shower and leave it running for 15 to 20 minutes afterward.
- Squeegee shower walls and the tub after every use, because standing water evaporates and adds humidity for hours.
- Take shorter, cooler showers when possible, as the temperature difference matters more than people expect.
What I’ve found works better than any single tip is stacking two or three of these at once. Running the fan and squeegeeing the shower together does more than either habit alone.
5. Skip Indoor Air Drying for Laundry
Drying a full load of laundry on an indoor rack releases close to a half gallon of water vapor into your apartment as it evaporates. In a small unit with limited airflow, that moisture has nowhere to go and settles into walls, curtains, and furniture over the following hours.
If you have a balcony or patio, dry clothes outside whenever weather allows. Indoors, use the bathroom. Run the exhaust fan, close the door, and let the rack sit in that isolated space instead of your living room or bedroom.
A dehumidifying laundry bag or a simple box fan pointed at the rack speeds up drying time and shortens how long that moisture lingers. Avoid draping wet clothes over radiators or floor heaters in shared living space, because it is efficient for drying but terrible for humidity control.
6. Deploy Baking Soda and Silica Gel in Small Spaces
Baking soda absorbs moisture and odor at the same time, which makes it a two for one fix for closets and cabinets. Leave an open box, or a shallow dish filled with a cup of it, on a shelf, and replace it every 30 days once it starts clumping. That clumping is the sign it is already saturated and no longer working.
Silica gel packets do a more targeted job in tight, enclosed spaces like drawers, safes, camera bags, and shoe boxes. Save the packets that come inside shoe boxes and electronics packaging instead of throwing them out, or buy a bag of rechargeable silica gel beads that you can dry out in the oven and reuse for years.
Neither of these will touch humidity in an open room. Their strength is protecting the small, poorly ventilated corners where mold and mildew get a foothold first.
7. Improve Air Circulation and Rethink Furniture Placement
Stagnant air holds moisture close to surfaces, which is exactly why condensation forms behind furniture pushed flush against exterior walls. Pull couches, dressers, and bed frames 2 to 3 inches away from outside walls to let air move behind them.
Ceiling fans and box fans don’t remove moisture, but circulating air helps it evaporate evenly instead of pooling in one damp corner. Run a fan on low in rooms that feel stuffy, and crack closet doors periodically so trapped air doesn’t stagnate.
Decluttering plays a bigger role than most people expect. Dense storage blocks airflow and creates pockets of trapped, humid air, so thinning out a packed closet does more for moisture control than it seems like it should.
Signs Your Humidity Reduction Efforts Are Working
A $10 to $15 hygrometer gives you a real number instead of a guess, and it is worth the small cost if humidity has been a recurring issue. Place one in your most problem prone room and check it daily for a week after starting any of the methods above.
Beyond the number, watch for practical signs: windows that stop fogging overnight, a musty smell that fades from closets, and mirrors that clear faster after a shower. Mold spots on grout or window sills should stop spreading, and existing spots should stay dry to the touch instead of feeling tacky.
When Natural Methods Aren’t Enough
Some apartments have structural issues that DIY methods can’t fix, like a slow plumbing leak, poor exterior drainage, or a bathroom exhaust fan that vents into the attic instead of outside. If humidity stays above 60% consistently even after weeks of consistent effort, that is worth reporting to a property manager rather than treating with more charcoal.
A small electric dehumidifier, like the compact 1 to 2 pint models, can bridge the gap in a single problem room without a major expense, especially in humid climates like the Gulf Coast or the Pacific Northwest during rainy months. Weigh that against your heating and cooling habits, too. Sealing drafts to save on winter heat and ventilating to cut humidity sometimes pull in opposite directions, so it helps to balance both goals rather than optimizing for just one. Read also, how to keep an apartment warm without heating.
Final Thoughts
None of these seven methods require special tools, and most start showing results within a week if you stick with them together rather than picking just one. Start with ventilation timing and a source control habit like covering pots or running the bathroom fan, because those two cost nothing and address the root of the problem before you even need a salt bucket or charcoal bowl.
Track your progress with a cheap hygrometer, adjust based on the season, and layer in the DIY dehumidifier or baking soda for the rooms that lag behind. If your apartment still runs damp in winter after tightening things up, check whether cold spots and drafts are working against you. A warmer, better sealed room often holds humidity better than one losing heat through gaps you haven’t found yet. Read also, cheap ways to warm up a room on a budget.
Frequently Asked Questions
What is the ideal humidity level for an apartment?
The EPA recommends keeping indoor relative humidity between 30% and 50%. Staying under 60% at all times helps prevent mold growth, even if you can’t hit the ideal range every day.
Does running a fan reduce humidity or just make it feel cooler?
A fan alone doesn’t remove moisture from the air. It moves air around, which speeds up evaporation and helps humid pockets disperse. Pair it with an actual moisture absorber, like a DIY salt bucket, for real reduction.
Can houseplants make apartment humidity worse?
Yes, plants release water vapor through their leaves in a process called transpiration, and a room packed with plants can measurably raise humidity. If moisture is already a problem, keep plant numbers moderate or move heavy transpirers like ferns to a well ventilated spot.
Is opening windows in summer bad if it is humid outside?
Yes, it can backfire if outdoor humidity is higher than indoor humidity, since you’ll be pulling in more moisture than you remove. Check a weather app first, and favor early morning or late evening windows when outdoor air tends to be driest.
How long does it take for a DIY dehumidifier to work?
A rock salt or calcium chloride bucket typically shows visible liquid within 24 to 48 hours in a genuinely humid room. Results depend on room size, starting humidity, and how sealed off the space is from outside air.
Does baking soda actually absorb moisture from the air?
Yes, though on a smaller scale than rock salt or calcium chloride. It works best in enclosed spaces like closets and cabinets rather than open rooms, and needs replacing roughly every 30 days once it clumps.
Why does my apartment feel humid even with AC running?
Standard air conditioners remove some moisture as a byproduct of cooling, but an oversized or short cycling unit cools the air fast without running long enough to pull out much humidity. If this sounds familiar, a dedicated dehumidifier or the methods above can pick up the slack.
Can high humidity damage my apartment or belongings?
Yes, sustained humidity above 60% encourages mold and mildew on walls, warps wood furniture and doors, and can damage electronics, books, and leather goods over time. It also worsens dust mite populations, which affects allergy symptoms.
How often should I replace rock salt or charcoal in a DIY dehumidifier?
Rock salt or calcium chloride usually needs refilling every 1 to 2 weeks in a consistently humid room. Charcoal briquettes last longer between refreshes, so bake them in the oven every 4 to 6 weeks to reset their absorbency.
Is it cheaper to buy a small electric dehumidifier than use DIY methods?
Upfront, DIY methods cost less. A rock salt bucket runs $10 to $15 total. A small electric dehumidifier costs more initially, often $60 to $150, but works faster and handles larger spaces, which can make it worth the investment if humidity is a year round issue rather than a seasonal one.