Your kitchen counters fill back up within days of every cleanup. You clear them on Sunday, and by Wednesday there is mail, a half empty water bottle, three appliances you forgot you owned, and a stack of “I will deal with this later” papers. This happens because most decluttering advice treats counters as a one time cleaning task instead of a system problem. Learning how to declutter kitchen countertops forever means fixing the habits and storage decisions that let clutter land there in the first place, not just clearing the surface again.
Table of Contents
Key Takeaways
- Counters stay clear only when every item has a designated home somewhere else.
- Small appliances used less than once a week belong in storage, not on display.
- A 2 minute nightly reset prevents the slow pileup that undoes weekend cleanups.
- Landing zones for mail, keys, and bags stop clutter before it reaches the counter.
- Maintenance rules matter more than the initial declutter, so pick 3 you will actually keep.
Why Kitchen Counters Attract Clutter in the First Place
Counters sit at eye level, near the door, and close to where you eat. That makes them the easiest flat surface to dump things on, which is exactly why they become clutter magnets faster than closets or drawers.
In my experience, counters fail not because people are messy, but because they lack a system for redirecting the flow of stuff. Mail comes in daily. Kids drop backpacks. Grocery bags get unpacked, and the reusable ones pile up. None of these items have a real home, so the counter becomes the default one.
Fixing this requires more than a single afternoon of tidying. It requires rethinking what belongs on a counter at all, and building small habits that catch clutter before it lands.
Step 1: Empty Every Counter Completely
Start by removing everything. Every appliance, every mail stack, every “just for now” item. Put it all on the kitchen table or floor where you can see it.
This step feels dramatic, but it works because it forces you to evaluate each object individually instead of shuffling piles around. You cannot organize clutter in place. You can only sort it once it is out of its habitual spot.
Group the items into rough categories as you go:
- Appliances, like a blender, toaster, coffee maker, or air fryer.
- Food items, like fruit bowls, oils, or spice jars.
- Paper, like mail, school forms, or takeout menus.
- Cleaning supplies, like dish soap, sponges, or sprays.
- Miscellaneous, like keys, chargers, sunglasses, or loose change.
If sorting through a full countertop’s worth of stuff feels overwhelming, the same category first approach works for entire rooms. A step by step system for organizing a room with too much stuff covers the broader version of this method.
Step 2: Sort With the 3 Question Filter
For each item, ask three questions in order. Stop as soon as one gives you a clear answer.
- Did I use this in the last 30 days? If not, it is a candidate for storage or removal.
- Does this need to live on the counter specifically, or could it work just as well in a cabinet or drawer?
- Would I buy this again today if I saw it in a store?
Most appliance clutter fails question 2. A stand mixer you use every weekend earns counter space. A panini press you used twice in 2024 doesn’t. It belongs in a cabinet, even if that means a slightly longer walk to grab it when you actually need it.
If guilt is creeping in about getting rid of gifts, duplicates, or “someday” items, that’s normal. 21 practical ways to get rid of stuff without guilt walks through specific scripts and mindset shifts for exactly that friction point.
What Almost Never Belongs on a Counter
Some categories cause repeat problems in nearly every kitchen I’ve worked through with clients and readers. Treat these as defaults to remove unless you have a specific, frequent use reason to keep them out.
- Mail and paper of any kind
- Reusable shopping bags
- Medication bottles, unless taken with every meal
- Chargers and cables
- Décor that collects dust rather than gets used
- Duplicate utensil crocks or knife blocks
Step 3: Give Everything That Stays a Fixed Address
This is the step most decluttering guides skip, and it is the one that determines whether your counters stay clear for 3 days or 3 years. Every item that earns a spot back on the counter, or anywhere in the kitchen, needs one specific, permanent location.
Not “somewhere in the cabinet.” A specific shelf. A specific drawer. A specific hook.
When an item has one home, putting it away takes 2 seconds because there is no decision involved. When an item has no home, putting it away requires a choice, and choices get postponed. Postponed choices are what turn into counter piles.
Walk through your kept items and assign real estate:
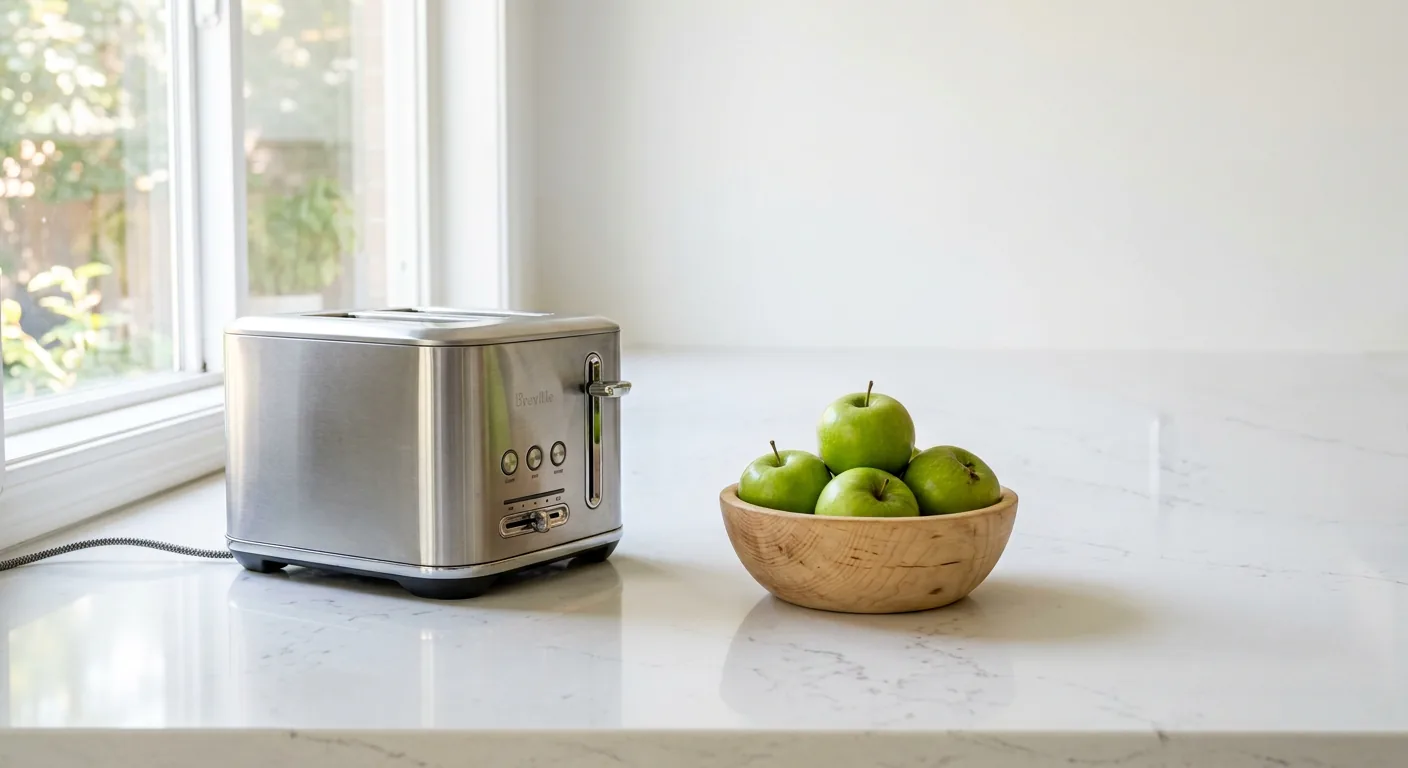
- Daily use appliances, like a coffee maker or toaster, get a fixed counter zone, ideally near their power source.
- Weekly use appliances, like a blender or slow cooker, get a lower cabinet or a pantry shelf with clear access.
- Occasional appliances, like a waffle iron or ice cream maker, get top shelf or garage storage, out of daily reach on purpose.
- Cooking oils and spices get a designated rack or drawer near the stove, not lined up on the backsplash.
- Fruit and produce gets one bowl, in one spot, with a size limit. If it overflows, some produce goes in the fridge instead.
Step 4: Build Landing Zones Outside the Kitchen
Most kitchen counter clutter never should have made it to the kitchen at all. Mail, keys, backpacks, and sunglasses land on the counter because there isn’t a better option closer to the door.
Set up a small landing zone near your main entrance. A shallow tray, a wall mounted organizer, or even a single drawer works. The goal is intercepting items before they travel 15 more feet into your kitchen and settle there permanently.
A basic version costs nothing. A bowl by the door for keys, a wall hook for bags, a small tray for mail that you sort weekly. According to research on household organization habits, proximity is one of the strongest predictors of where clutter accumulates. Items land wherever is closest to the door or the point of entry, regardless of whether that spot makes sense. Move the “closest spot” away from your counters, and the clutter follows it.
Step 5: Handle Paper Clutter With a Weekly Touch Point
Paper is the single most common repeat offender on kitchen counters. Mail, school forms, appointment cards, and receipts multiply daily, and without a system they colonize every flat surface within reach.
Set one 10 minute touch point per week. Sunday evening works well for most households, to process the paper pile completely.
- Trash immediately: Anything expired, duplicate, or purely promotional.
- File: Bills, tax documents, and anything you are legally required to keep.
- Act: Forms needing a signature or reply go straight into your bag or by the door, not back on the counter.
- Digitize: Recipes, warranties, and instruction manuals you rarely need in paper form. Photograph them and toss the original.
If certain papers keep resurfacing because you are unsure whether they still matter, that hesitation usually points to a bigger sorting problem. A guide for deciding what to keep when everything feels important breaks down a decision framework for exactly this kind of stuck point.
Step 6: Set Maintenance Rules You Will Actually Follow
A one time declutter fails without maintenance rules. The system only works if the rules are few enough to remember and simple enough to follow on a tired Tuesday night.
Pick 3 rules from this list rather than trying to adopt all of them at once. Overcommitting to a perfect system is a common way maintenance habits collapse within 2 weeks.
- One in, one out: A new appliance means an old one leaves the kitchen.
- Nightly 2 minute reset: Before bed, everything gets returned to its fixed address.
- No flat surface storage: If it isn’t actively being used, it doesn’t sit on a counter, period.
- Sunday paper sweep: Process mail and forms once a week, no exceptions.
- Appliance rotation check: Every 3 months, ask whether each stored appliance still earns its spot.
The Nightly Reset in Practice
This single habit does more work than any organizing product you can buy. Before bed, spend 2 minutes putting stray items back where they belong. Dishes in the sink or dishwasher, mail in its tray, appliances tucked away.
Waking up to a clear counter resets your mental baseline for the day. When I’ve tested this with cluttered kitchens over several weeks, the households that kept the nightly reset saw counters stay clear roughly 5 to 6 days out of 7, compared to constant backsliding without it.
Step 7: Reduce What You Own, Not Just Where You Store It
Storage solutions only get you so far if you own more than your kitchen can reasonably hold. A cabinet stuffed with 6 half used appliances will eventually spill back onto the counter no matter how well labeled the shelves are.
Look honestly at duplicate items. Do you need 3 sets of measuring cups, 2 coffee makers, or a bread machine and a stand mixer with a bread attachment? Consolidating down to what you use regularly frees up storage space, which in turn keeps counters clear because there is finally room to put things away.
This is where motivation tends to run out. Clearing counters once is satisfying, but auditing your full appliance collection for the third time this year isn’t. If you are stuck at this stage, strategies for decluttering when you have zero motivation has approaches specifically for pushing through that fatigue.
Common Mistakes That Undo a Kitchen Counter Declutter
Even a solid initial cleanout can unravel within a month. Watch for these patterns.
- Buying organizers before decluttering. A caddy or tray just contains clutter more neatly, it doesn’t remove it.
- Keeping “for guests” items on display. Fancy serving bowls used twice a year belong in storage, not permanent counter real estate.
- Skipping the paper system. Mail is the fastest way for counters to refill, even after appliances and small items are handled.
- No fixed address for new purchases. Every new item needs a home assigned the day it enters your kitchen, not “eventually.”
- All or nothing thinking. A counter with one appliance and a fruit bowl is still a massive improvement over one buried in stuff. It doesn’t need to be completely bare to count as decluttered.
Maintaining Clear Counters Long Term
Clear counters are a habit, not a finished project. Revisit your system every few months, especially after holidays, moves, or a wave of new gifts and purchases.
A quarterly 15 minute check works well. Pull everything off the counter again, confirm each item still earns its spot, and reassign homes for anything new that has crept in. This short recurring check catches drift before it becomes a full pileup again.
Final Thoughts
Clear counters aren’t the result of owning less stuff necessarily. They are the result of every remaining item having somewhere specific to live. The households that keep their kitchens clear for good treat maintenance as part of the system from day one, not an afterthought they will get to eventually.
Pick one step from this guide and start there this week. Probably the full counter clearing session, since everything else builds on it. Once your fixed addresses and landing zones are in place, the nightly 2 minute reset is what carries the whole thing forward.
Frequently Asked Questions
How long does it take to declutter kitchen countertops for good?
The initial declutter usually takes 2 to 4 hours for an average kitchen, depending on how much has accumulated. Maintaining the result takes about 2 minutes a night and 15 minutes a week going forward.
What small appliances should always stay off the counter?
Anything used less than once a week. Waffle irons, ice cream makers, panini presses, and specialty juicers are common offenders. Store these in a cabinet or pantry and bring them out only when needed.
How do I stop mail from piling up on my kitchen counter?
Set up a landing zone near your entry door, away from the kitchen, and sort mail there weekly instead of letting it travel to the counter. Trash junk mail immediately rather than setting it down “for now.”
Is it okay to keep a coffee maker on the counter?
Yes, if you use it daily. Daily use appliances near their power source are the exception to the “clear counter” rule. The goal is removing what you rarely use, not eliminating every appliance.
What is the fastest way to declutter a kitchen counter in one session?
Remove everything at once, sort using the 3 question filter, and then assign a fixed storage spot to everything that stays. Skipping the “fixed spot” step is why most one session cleanups don’t last.
How do I keep kitchen counters clear with kids in the house?
Add low height landing zones, like a bin or basket at kid height, for backpacks, water bottles, and school papers so they never reach the counter. Reinforce a nightly reset as a shared household habit, not just your job.
Why do my counters get cluttered again within a week even after a big cleanout?
This usually means items were cleared but never assigned a fixed storage location, so they migrate back to the easiest surface. It can also mean there isn’t a weekly paper system or nightly reset habit in place to catch the daily buildup.
Should I get counter organizers or trays to manage clutter?
No, organizers help only after you have reduced what you own. They are a maintenance tool, not a decluttering solution. Buying trays and caddies before sorting through your items usually just creates neater looking clutter.
How often should I redo a full kitchen counter declutter?
A quarterly check, roughly every 3 months, is enough for most households to catch items that have crept back onto the counter. After holidays or a house move, do it sooner since those events tend to bring in a wave of new items.
Does decluttering countertops help with cleaning the kitchen faster?
Yes, wiping down a clear counter takes seconds, while cleaning around appliances, mail stacks, and miscellaneous items can add several minutes to a routine wipe down and often means spots get skipped entirely.