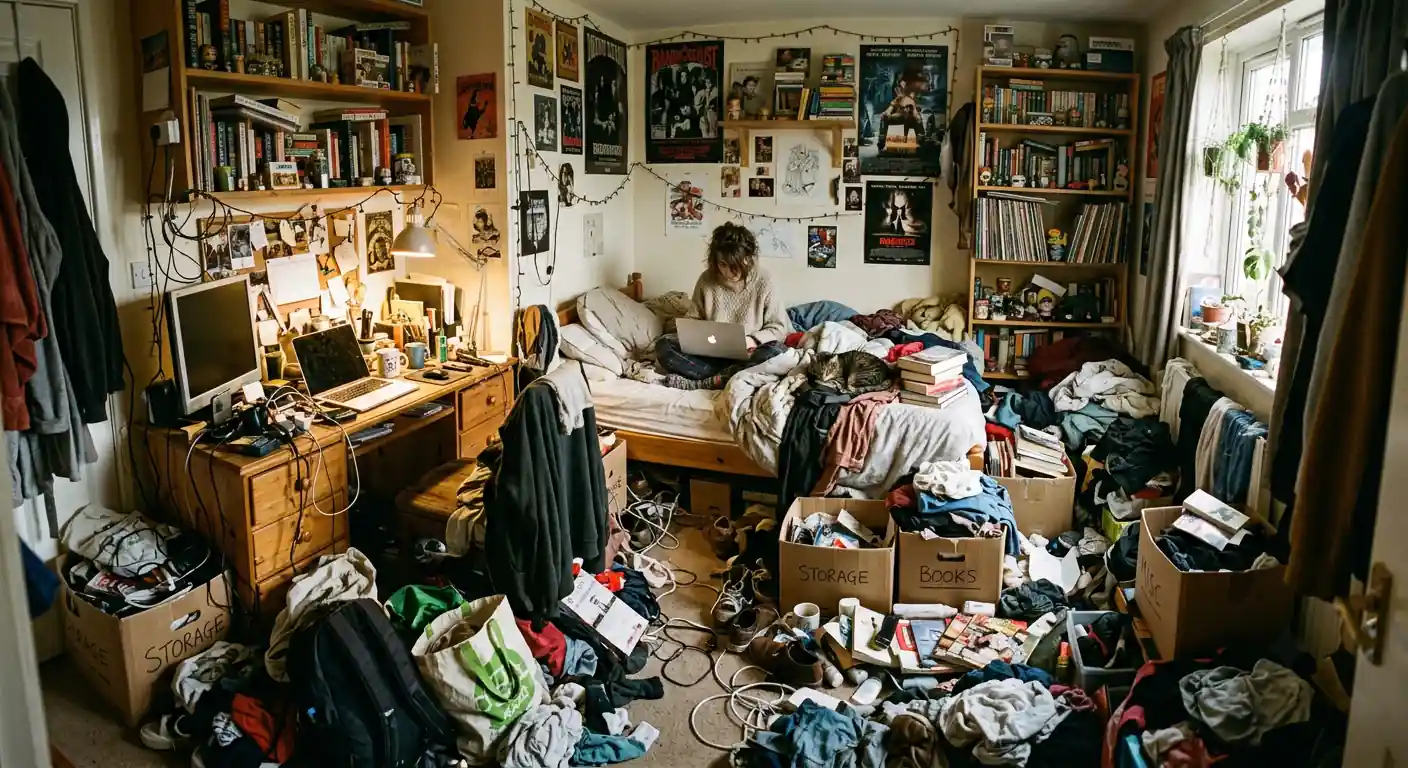
You open the door, look at the piles, and shut it again. That is the moment most people get stuck when a room has too much stuff in it. The mess feels too big to start, so nothing happens. Learning how to organize a room with too much stuff comes down to a sequence: empty, sort, cut hard, then build storage around what is left, not the other way around.
This guide walks through that sequence for any room, whether it is a bedroom, home office, garage corner, or kids playroom, using the same core method with small adjustments for each space.
Table of Contents
Key Takeaways
- Empty and sort before you buy a single storage bin.
- Work in 90 minute sessions with a hard stop, not marathon weekends.
- Cut your item count by at least 30% before organizing what remains.
- Give every item a home, a category, and a container, in that order.
- Zone the room by activity, not by object type.
Quick Fixes & Diagnostics
If you are short on time or completely overwhelmed, here are the best immediate actions you can take today:
| Quick Fix | Best For | Time Needed |
|---|---|---|
| 15 minute trash sweep | Finding the floor fast | 15 minutes |
| Place a basket in drop zones | Catching everyday clutter | 2 minutes |
| Photograph the room | Assessing clutter objectively | 5 minutes |
| Clear one horizontal surface | Beating overwhelm quickly | 15 minutes |
| Toss the “someday” items | Cutting volume fast | 10 minutes |
- Can’t find the floor? Start with a 15 minute trash and trash only sweep. No decisions, just obvious garbage out.
- Piles keep reappearing in the same spot? That spot is a drop zone. Put a basket there instead of fighting it.
- Overwhelmed just looking at the room? Photograph it, then work from the photo. Pictures make clutter easier to assess than standing in the middle of it.
- Not sure what is causing the mess? Check if you are storing items for a someday that never comes. That is usually 20% of the problem.
- Short on time? Pick one horizontal surface like a dresser or desk, and clear only that today.
Why Rooms Get Overwhelmed with Stuff in the First Place
Clutter rarely arrives all at once. It builds through small decisions: a gift you didn’t need, a project you abandoned, or clothes that no longer fit but might again. Each item alone seems harmless. Together, they bury a room.
Rooms also fill up because storage gets added before sorting happens. You buy bins, baskets, and shelf dividers, then stuff belongings into them without asking whether you need half of what is inside. The room looks more organized for a week, then collapses again because the actual volume of stuff never changed.
There is also a psychological piece. If everything in the room feels meaningful or useful, letting go of any of it feels risky. Guidance on decluttering when everything feels important covers this in more depth if that resistance sounds familiar.
Step 1: Empty the Room Before You Sort Anything
This step feels extreme, and that is the point. Pulling everything out of a space forces you to see the true volume of what you own, instead of judging items one at a time inside their comfortable spots.
For small rooms like a closet, a bathroom, or a nightstand area, physically remove every item to another room or a hallway. For larger rooms like a bedroom or home office, work zone by zone instead. Do one closet, one dresser, or one corner at a time.
In my experience, people underestimate volume by half until they see it piled on a bed or a tarp. A drawer that looked fine closed often holds 40 items once emptied. Seeing the pile is uncomfortable, but it is the single fastest way to break denial about how much stuff a room actually contains.
What to Do If You Can’t Physically Empty the Room Not every room allows a full empty out. A shared bedroom or a room with heavy furniture makes that impractical. In that case, pick one zone: a closet, a desk, or a set of shelves.
Treat that zone as its own mini project with the same steps below. Finish it completely before moving to the next zone. Partial progress across five zones feels worse than full progress in one.
Step 2: Sort Everything into Four Categories
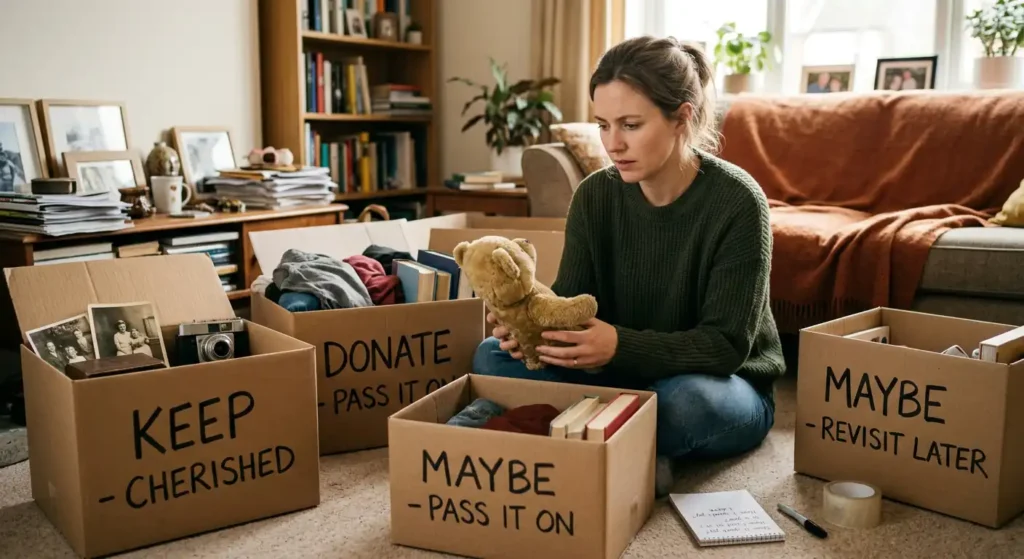
Once items are out of the room, sort them fast. Resist the urge to organize as you go. Use four categories only:
- Keep: Items you use, wear, or genuinely love, and that belong in this room.
- Relocate: Items that belong somewhere else in the house.
- Donate or sell: Usable items you no longer need.
- Trash or recycle: Broken, expired, or unusable items.
Set a timer for each sorting session. 90 minutes works well for most people, based on typical attention spans for repetitive decision making tasks. Sort fast and trust your first instinct, because a 3 second decision is usually as accurate as a 3 minute one for most household items.
Avoid a fifth pile labeled maybe. Maybe piles grow, sit untouched for months, and end up back in the room exactly where they started. If you genuinely cannot decide, put a 30 day expiration date on a single maybe box and revisit it. No exceptions, and no second box.
Step 3: Cut Harder Than Feels Comfortable
Sorting alone won’t fix a room with too much stuff. You have to remove volume, not just organize it. Aim to cut your total item count by at least 30% in the first pass. Rooms that feel chronically overwhelmed often need closer to 50%.
Ask three questions per item, quickly:
- Have I used or worn this in the last 12 months?
- Would I buy this again today, at today’s price?
- Does keeping this cost me more in space and stress than it is worth?
If two of three answers point toward letting go, let it go. Duplicates are the easiest cuts. You likely don’t need 6 identical black t-shirts or 3 half used bottles of the same lotion. Consolidate first, then decide what stays.
For a full list of tactics to make this part less painful, 21 simple ways to let go of belongings without guilt breaks down specific approaches for sentimental items, gifts, and things you spent money on but never used.
Step 4: Group What Remains by Category, Not by Room Zone
Before buying storage or deciding where things go, group your keep pile into categories: clothing, books, cables and electronics, papers, hobby supplies, and so on. This step reveals patterns you can’t see when items are scattered.
You might discover you own 14 phone chargers or enough craft supplies for 3 people. Grouping exposes redundancy that individual sorting misses. It also tells you which categories need the most storage, which are often not the ones you would guess.
Write down rough counts per category. Numbers make the next step, deciding on storage, far more accurate than eyeballing it.
Step 5: Zone the Room by Activity
A common mistake is organizing a room around object types instead of what actually happens in that space. A bedroom isn’t just clothes plus books plus stuff. It is a place where you sleep, dress, sometimes work, and store seasonal items.
Map the room into 3 or 4 functional zones based on activity:
- Sleep zone: Bed, nightstand, minimal surface clutter.
- Dressing zone: Closet, dresser, mirror, hamper.
- Work or hobby zone: Desk, supplies, reference materials.
- Storage zone: Under bed bins, closet shelf, out of season items.
Assign your sorted categories to the zone where they are actually used. Books you read in bed belong in the sleep zone, not the work zone, even if books feels like one category. This activity based approach keeps items closer to where you will use them, which is the single biggest factor in whether organization sticks.
Step 6: Choose Storage After Sorting, Never Before
Buying bins, baskets, and organizers before you have cut volume is the most common reason organization projects fail within a few weeks. You end up storing clutter more neatly instead of having less of it.
Once you know your real item counts per category, choose containers sized to match. Do not choose containers you hope will inspire minimalism. A drawer organizer sized for 8 pairs of socks won’t work if you kept 22 pairs. Either cut further or size up, but don’t guess.
Favor:
- Clear bins for storage zone items you need to identify at a glance.
- Labeled boxes for anything going into a closet shelf or under the bed.
- Open baskets for daily use items like remotes, mail, or dog leashes. Friction free access matters more than tidiness for things you touch daily.
Skip elaborate systems with 15 tiny labeled compartments unless you already know you will maintain them. Most people don’t, and an overly detailed system becomes its own source of clutter.
Step 7: Give Every Remaining Item a Home
A home means a specific spot. It is not somewhere in the closet, but the third shelf, left side, in a labeled bin. Vague homes are why items end up on floors and dressers again within 2 weeks.
Walk through each category and assign one physical location per item type. Write it down if you tend to forget systems you set up yourself. A small index card taped inside a closet door works fine.
Keep frequently used items at waist to shoulder height. Reserve high shelves and under bed space for things you access a few times a year, like holiday decorations or off season clothing.
Step 8: Build a 5 Minute Reset Habit
Organizing a room once solves today’s problem. Keeping it organized requires a small daily habit. Most people find 5 to 10 minutes before bed enough to reset surfaces and put strays back in their assigned homes.
Pick one trigger, like right after dinner or right before brushing teeth, and attach the reset habit to it. Habits stick better when they are tied to an existing routine instead of floating free on the calendar.
If a category keeps drifting out of its home within days, that is information, not failure. It usually means the assigned spot is inconvenient. Move the home closer to where the item actually gets used, and the drift usually stops.
Common Mistakes That Undo Room Organization Fast
A few patterns show up again and again in rooms that fall back into chaos within a month:
- Organizing without cutting volume. Neat clutter is still clutter. It just looks better for a week.
- Buying storage first. Containers purchased before sorting rarely match what you actually kept.
- No assigned home for new items. Anything that enters the room needs a spot decided on the spot, not later.
- Skipping the maintenance habit. A one time overhaul without a reset routine reverts within 4 to 6 weeks in most cases.
- Tackling the whole house at once. Momentum dies fast when the scope is too large. One room, finished, beats five rooms half done.
If motivation is the real blocker rather than method, strategies for decluttering when you have no motivation covers ways to get moving even on days when starting feels impossible.
How Long Should This Actually Take?
A single average bedroom with moderate clutter typically takes 4 to 8 hours spread across 2 or 3 sessions, not one exhausting weekend. Severely overloaded rooms, or spaces that have accumulated stuff for 5 plus years, can take 12 to 20 hours total.
Break the work into sessions rather than pushing through fatigue. Decision fatigue sets in fast during sorting. Most people notice their keep and discard decisions get sloppier after about 90 minutes, which is exactly why shorter, repeated sessions outperform marathon efforts.
Final Thoughts
A room buried in stuff isn’t a character flaw. It is usually just accumulated decisions that never got revisited. The method that actually works is boring on purpose: empty it, sort it, cut hard, then build storage around what is left.
Pick one room, block off 2 hours this week, and run through the first three steps. You don’t need the whole system finished today. You need proof that the process works on your stuff, in your space, right now.
Frequently Asked Questions
Where do I even start when a room has too much stuff everywhere?
Start with one surface or one drawer, not the whole room. Clear that single spot completely before moving to the next one. Small finished wins build the momentum needed for larger zones.
How do I organize a room when I don’t have money for storage bins?
Sort and cut first. You likely need fewer containers than you think once volume drops. Repurpose boxes, baskets, or drawers you already own before buying anything new.
What is the fastest way to declutter a room in one day?
Set a firm 4 to 6 hour block, work in 90 minute sessions with short breaks, and focus only on trash removal and obvious donations rather than deep organizing. A full, polished system usually needs a second session.
Should I organize by category or by room first?
Sort by category once everything is pulled out of the room. It reveals duplicates and true quantities you can’t see when items are scattered across a space. Organize the physical room afterward, once you know what is actually staying.
How do I stop a room from getting cluttered again after I organize it?
Assign a specific home to every item and build a short daily reset habit, ideally under 10 minutes. Most relapses happen because new items never get an assigned spot, not because the original organizing failed.
What do I do with sentimental items I can’t part with?
Limit sentimental items to one labeled box or bin with a fixed size limit. When it is full, something has to leave before something new goes in. This keeps sentimentality from quietly expanding into a second closet’s worth of stuff.
Is it normal to feel overwhelmed just looking at a messy room?
Yes, visual clutter increases cognitive load, which is part of why a messy room feels mentally exhausting before you have touched anything. Breaking the space into small zones reduces that overwhelm because you are never facing the whole room at once.
How many items should I get rid of when organizing a cluttered room?
Aim for at least a 30% reduction in total items during your first pass. Heavily overloaded rooms often need closer to 50%. Use the 12 month usage question as your main filter for each item.
Should kids rooms be organized differently than adult rooms?
Yes, the same empty, sort, cut, and zone method works, but involve the child in the sorting decisions when age allows it. Toy rotation, storing half the toys out of sight and swapping monthly, also keeps volume manageable in a way that pure organizing can’t.
How do I organize a shared bedroom with two people’s belongings?
Sort each person’s items separately before assigning zones, then divide storage and surface space based on actual item counts rather than splitting evenly by default. Shared zones, like a joint dresser or closet, work best when each person’s categories are physically separated, not mixed together.