You want clean dishes without wasting water or leaving a pile of plastic and harsh chemicals in your wake. You also want a routine that fits real life, not a lab. You’re in the right place.
In this guide, I’ll show you practical, eco friendly ways to wash dishes by hand that reduce water and energy use, avoid microplastic shedding tools, and still get your plates, pans, bottles, and boards properly clean. You’ll learn a sink setup that works in any kitchen, how to choose safer soaps, when to sanitize, how to reuse greywater, and exactly how to move through a stack of dishes fast, with less effort.
Table of Contents
Before the List: A Quick Truth Check
A modern efficient dishwasher often beats typical hand washing when someone leaves the tap running. But the gap closes fast when you use the right hand wash setup. If you’re washing items that aren’t dishwasher safe or you just prefer the sink, the methods below can make your hand wash routine lean and gentle on resources.
What Wastes the Most in Hand Washing and How to Fix It
Running water is the main leak. A standard kitchen faucet can flow 1.5 to 2.2 gallons per minute. Let that run for 10 minutes, and you’ve used 15 to 22 gallons. Heat that water, and the energy adds up too.
So the fix is simple in concept:
- Keep water still as often as possible.
- Use targeted flow when you do need it.
- Start with the least dirty items and finish with the greasiest to stretch a single basin of soapy water.
- Scrape, soak, and wipe before water touches the plate.
Now let’s get into the 15 methods you can mix and match.
The 15 Eco-Friendly Ways to Wash Dishes by Hand
1. Set Up a Two-Basin Station
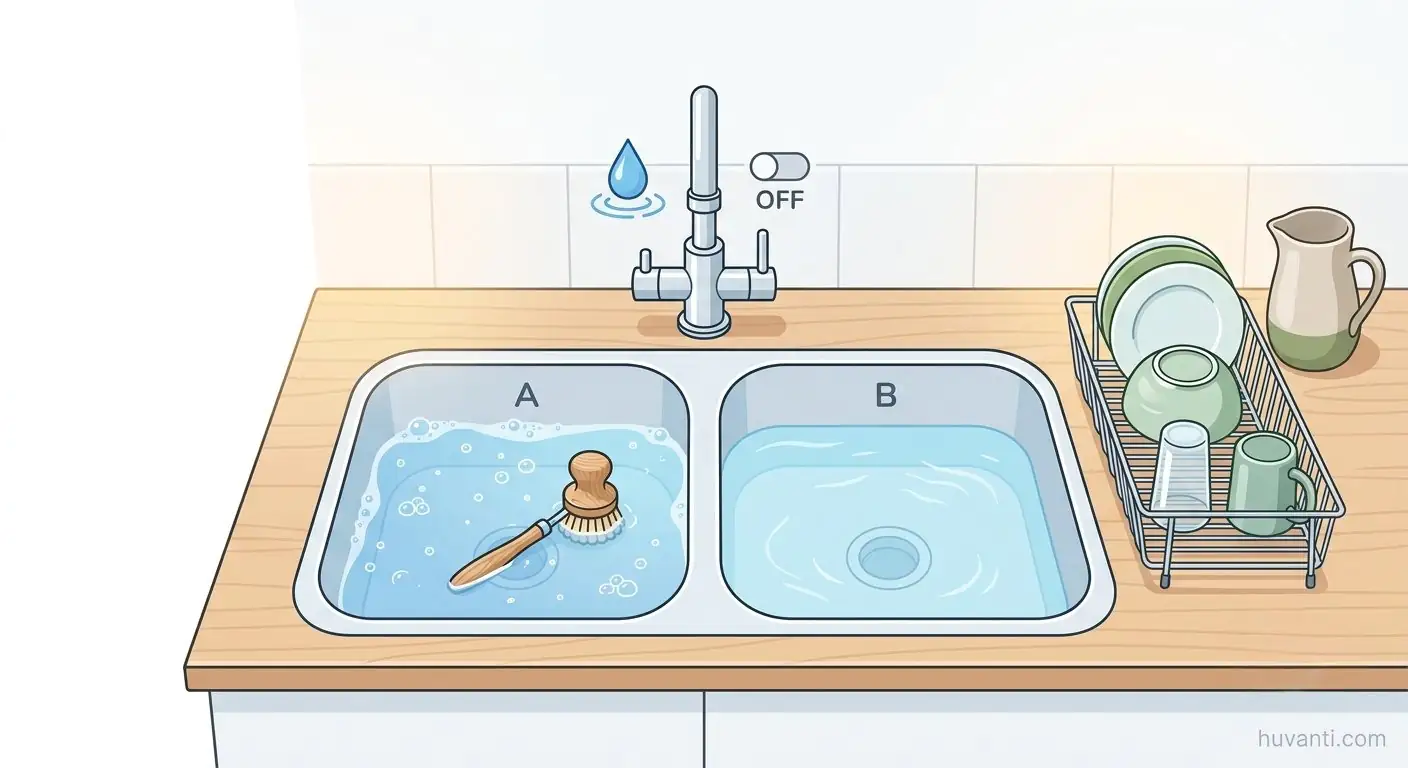
The two-basin method is the single biggest water saver for hand washing. If you have a double sink, use it. If you have one sink, drop in two wash tubs.
How to do it:
- Fill Basin A with warm water and a small amount of concentrated dish soap.
- Fill Basin B with clean warm water for rinsing.
- Put a drying rack to the right if you’re right-handed, or to the left if you’re left-handed.
- Keep the faucet off. Only turn it on for a quick top-up if the rinse water gets cloudy.
Why it works:
- You scrub in still water, not under a running tap.
- You rinse one time in a controlled amount of water.
- You don’t need to change water often if you work light to heavy.
Pro tip: Mark a line inside each tub at about 2 to 3 inches so you stop filling at the same volume every time. Consistency helps you track savings.
2. Scrape and Wipe Before You Wash
Dried sauce, starch, and grease force you to change water more often. Remove them first without water.
Do this:
- Use a silicone spatula or a bench scraper to push food into the bin or compost.
- Wipe oily pans with a dedicated rag or a paper towel made from recycled fiber. Then put that rag or towel in your trash, not the wash.
- Keep a jar with a lid for fats and oils. Pour cooled fats into the jar. Don’t pour oil down the sink.
Why it works:
- Less grease in the wash basin keeps suds alive longer.
- Scraping can remove 80 to 90 percent of residue on a plate with zero water.
3. Soak and Stack Smart
A short soak softens dried food and reduces scrubbing time. But you don’t need a full sink for this.
Try this:
- Nest bowls, plates, and cutlery in Basin A with just 1 to 2 inches of warm soapy water.
- For baked-on mess, make a paste of baking soda and a splash of water. Spread it on the spot and let it sit while you wash other items.
- For starchy foods like rice or oatmeal, a 10-minute soak in warm water is enough. Don’t soak wooden boards or carbon steel knives.
Soaking saves effort and water because scrub time falls, and you avoid the reflex to blast everything under a hot tap.
4. Wash in the Right Order
Keep the wash water clean by moving from least to most dirty.
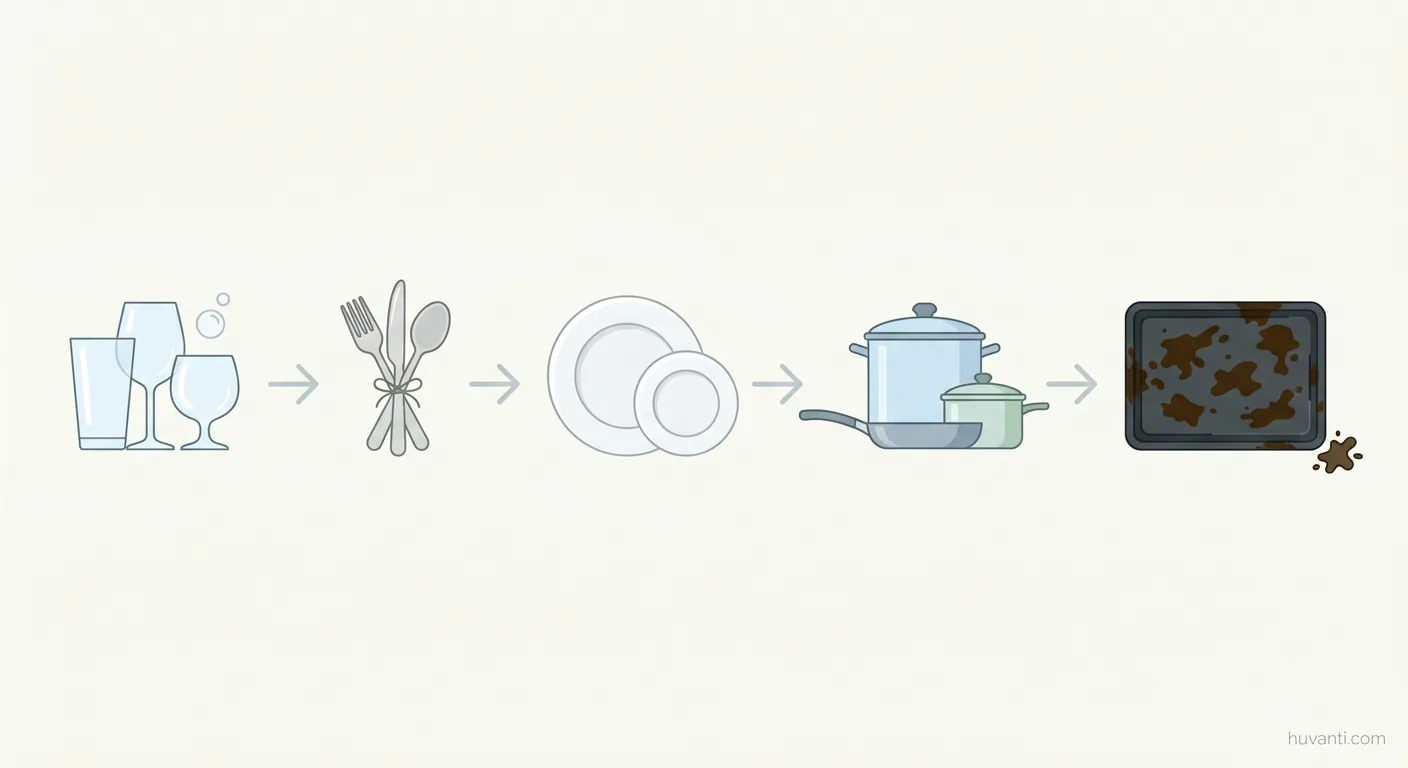
Use this order:
- Glasses and cups
- Cutlery
- Plates and bowls
- Serving dishes
- Pots and pans
- Greasy trays and the dirtiest pan last
Rinse everything in Basin B as you go. If the rinse water looks cloudy, swap it out before you hit the greasy items.
5. Master the Minimal Rinse
You can rinse well without a roaring faucet. Here are three efficient options:
- Dunk and swish items in Basin B. Lift them slowly so water sheets off.
- Keep a clean pitcher or large measuring cup by Basin B. Pour a small stream of clean water over soaped items while you hold them above Basin A. The rinse drips right back into the wash sink instead of down the drain.
- Fit your faucet with a spray head and set the flow to a trickle just for a quick targeted rinse.
Targeted flow beats a constant blast. If you use a faucet, open it only while water is in contact with the dish.
6. Choose Safer, Concentrated Soap
Pick a dish soap that’s tough on grease but gentle on water and skin.
What to look for:
- Plant-based surfactants and no unnecessary dyes or heavy fragrance.
- EPA Safer Choice or EWG Verified marks.
- Read the ingredient list. Skip antibacterial claims you don’t need for dishes. Triclosan isn’t needed here.
- Concentrates in refillable bottles or solid dish soap bars to cut packaging.
Use less than you think. A half teaspoon in a small basin can be enough. If you see thick foam that takes forever to rinse, you used too much.
7. Try a Foaming Pump or Solid Bar to Use Less Soap
Foaming pumps whip a small amount of soap into airy foam so it spreads fast. Solid dish bars give you dose control. Both can cut soap use a lot.
How to use:
- For a foaming pump, fill with 1 part soap and 4 to 5 parts water, then adjust.
- For a solid bar, swipe a wet brush or cloth across the bar for 1 to 2 seconds and start scrubbing. Re-swipe only as needed.
Less soap in means less water out to rinse.
8. Control Water Temperature Wisely
Heat cleans, but it costs energy. Use it where it matters.
Guidelines:
- Warm water for washing is fine for most items.
- Greasy pans clean up faster if you add a small pour of hot water to the pan or use a kettle splash, not a full hot tap run.
- Cold water is fine for a first rinse on very oily pans if you wiped grease first. Cold makes fats less mobile, so wipe first, then wash warm.
Don’t burn energy for no reason. Heat strategically.
9. Use Tools That Clean Fast and Last Longer
The right scrubber saves time and water.
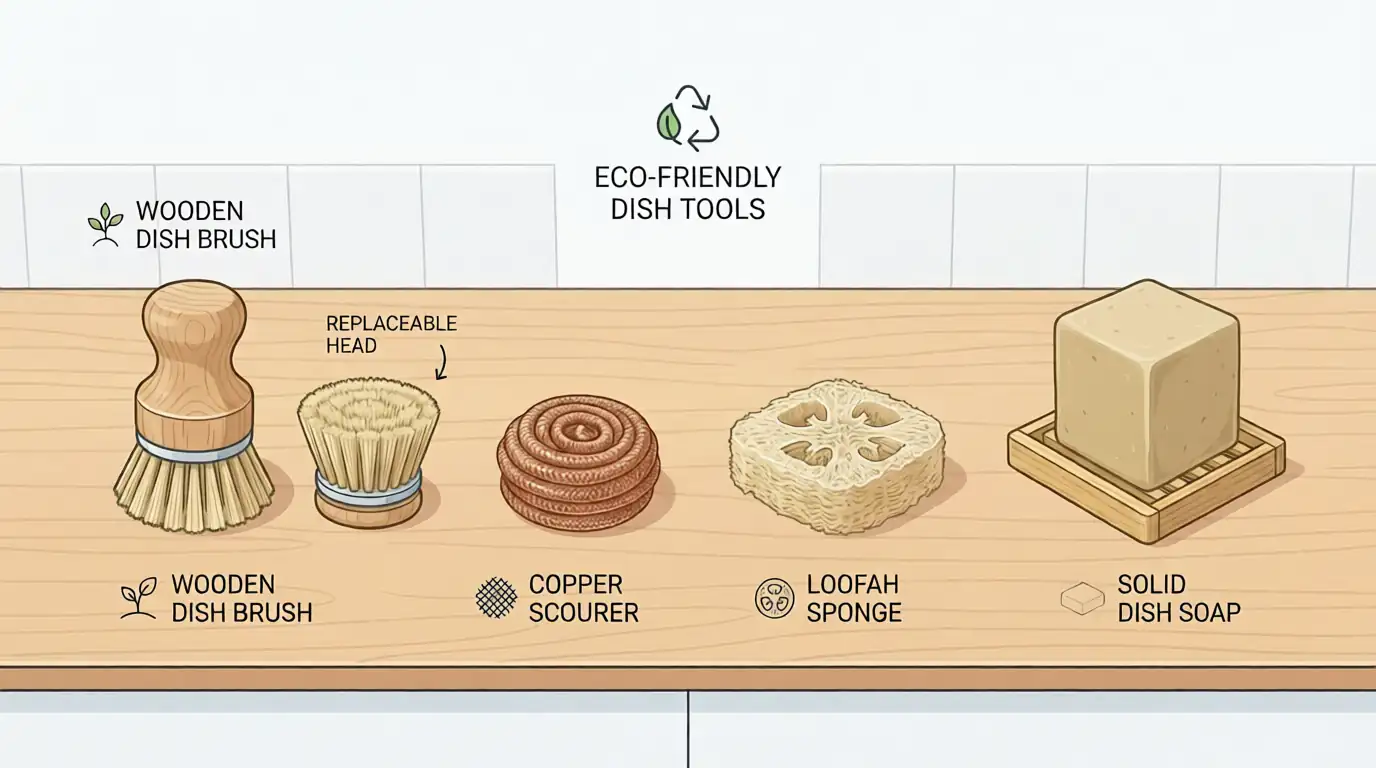
Good options:
- A stiff-bristle dish brush with a replaceable head. Wood or bamboo handles with plant fiber bristles work well and avoid microplastic shedding.
- Scourers made of copper or stainless steel for stuck-on food. Use gently on delicate surfaces.
- Loofah or cellulose sponges for gentle clean up, not melamine foam. Melamine sponges can shed microplastic dust.
- A bottle brush for narrow jars and bottles.
Keep tools clean:
- Rinse brushes and let them air dry bristle side down.
- Wash cloths in a hot cycle and change them daily.
- Boil a sponge for 1 minute or soak in a mild bleach solution when needed. Air dry fully before reuse.
10. Use Mild Abrasives the Smart Way
Baking soda and salt can lift stuck food without harsh chemicals.
How to use:
- For ceramic or stainless steel, sprinkle baking soda on the wet surface and rub with a damp cloth.
- For cast iron, use kosher salt and a splash of warm water with a scrub brush. Wipe dry and oil lightly after.
- Rinse with a small pour from your rinse basin or a pitcher, not under a running tap.
Avoid abrasive pads on nonstick or soft glass. Test first.
11. Batch Your Dish Time
Start and stop uses more water and soap than one focused session.
Make this your rhythm:
- After meals, scrape and stack everything.
- If you can’t wash right away, give the stack a 30 to 60 second sprinkle or a quick 1-inch soak to prevent crusting.
- Wash once or twice a day in a single session using your two-basin method.
One good session beats five fussy trips to the sink.
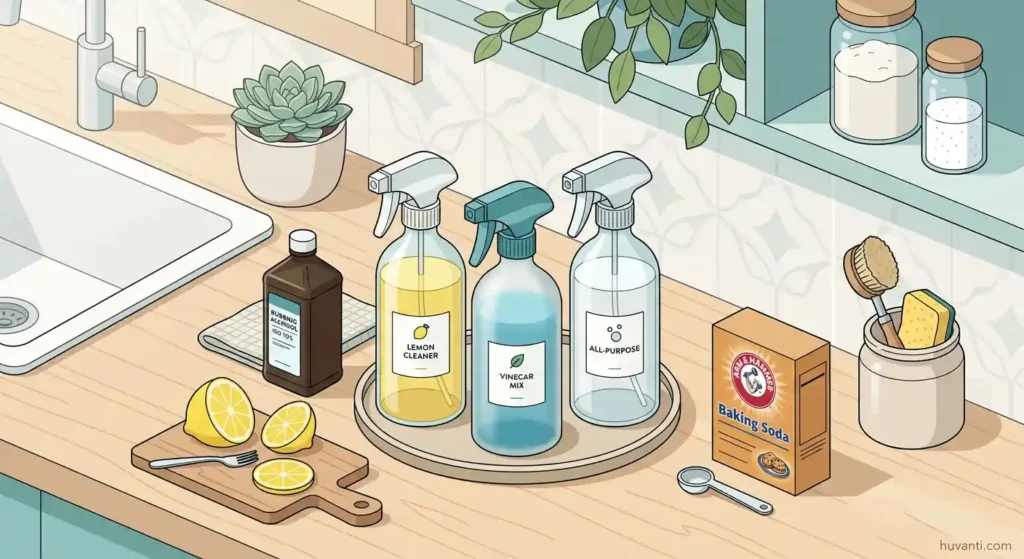
12. Rethink the Rinse with a Vinegar Finish for Hard Water
Hard water leaves spots and dullness. A simple vinegar dip can help, with care.
How to do it:
- Keep a small bowl with a mix of 1 part white vinegar to 4 parts water.
- After the main rinse in Basin B, dunk glasses and cutlery in the vinegar bowl and let them drain in the rack.
- Never mix vinegar with any bleach-containing solution. Rinse all bleach away before you introduce vinegar.
Vinegar isn’t a sanitizer. Use it to reduce mineral spots only.
13. Capture and Reuse Safe Greywater
If local rules allow, you can reuse some dishwater in simple ways.
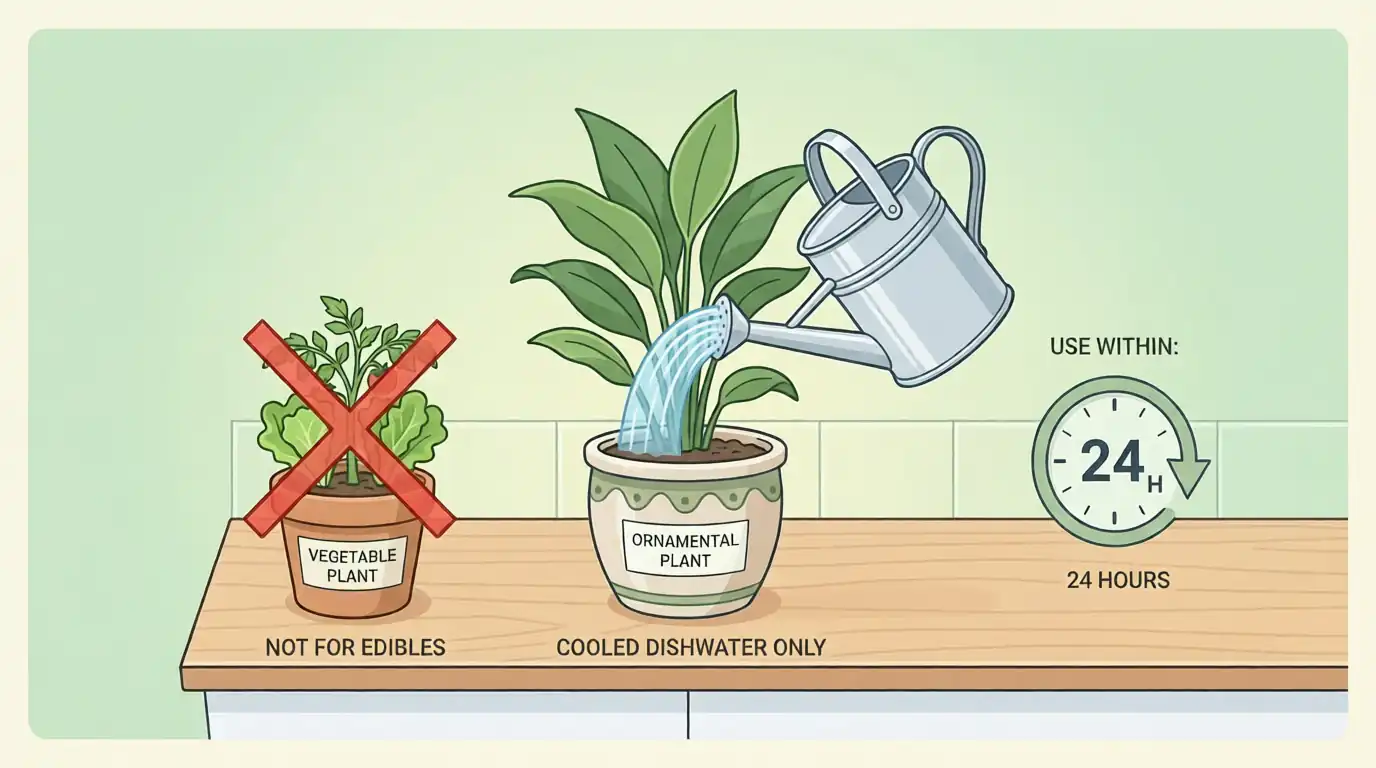
Basics:
- Use biodegradable, low-sodium soap if you plan to reuse water.
- Strain out food bits with a fine mesh strainer.
- Use cooled rinse water for pre-soaking crusty pans or for flushing the toilet.
- Use cooled rinse water on ornamental plants and trees, not on edible leaves or vegetable beds. Apply to soil only, not foliage.
- Use greywater within 24 hours. Don’t store longer.
Check your local codes before any regular reuse. Never reuse water that contains bleach on plants.
14. Sanitize Only When It Matters, with Minimal Impact
Daily dishwashing doesn’t require antibacterial soap. But some items do need sanitizing.
When to sanitize:
- Cutting boards, knives, and plates that contacted raw meat, poultry, seafood, or eggs.
- Baby bottles and breast pump parts if your doctor advised it, or after illness.
- Boards used for ready-to-eat foods if they were cross-contaminated.
Simple sanitizing options:
- Diluted bleach: Mix 1 tablespoon of unscented household bleach in 1 gallon of cool water. This gives about 200 parts per million of available chlorine. Submerge items for 1 minute. Let them air dry. Don’t rinse with water after unless you prefer to, then use a minimal pour.
- Heat: Pour just-boiled water over metal utensils and let stand 30 seconds. This uses more energy, so keep it targeted.
- Dishwasher sanitize cycle: Use for heat-tolerant items if you have access, as a backup plan.
Never mix bleach with vinegar or ammonia. Always air dry after sanitizing.
15. Make Setup Easy So You Stick With It
The greenest method is the one you actually use every day.
Set yourself up:
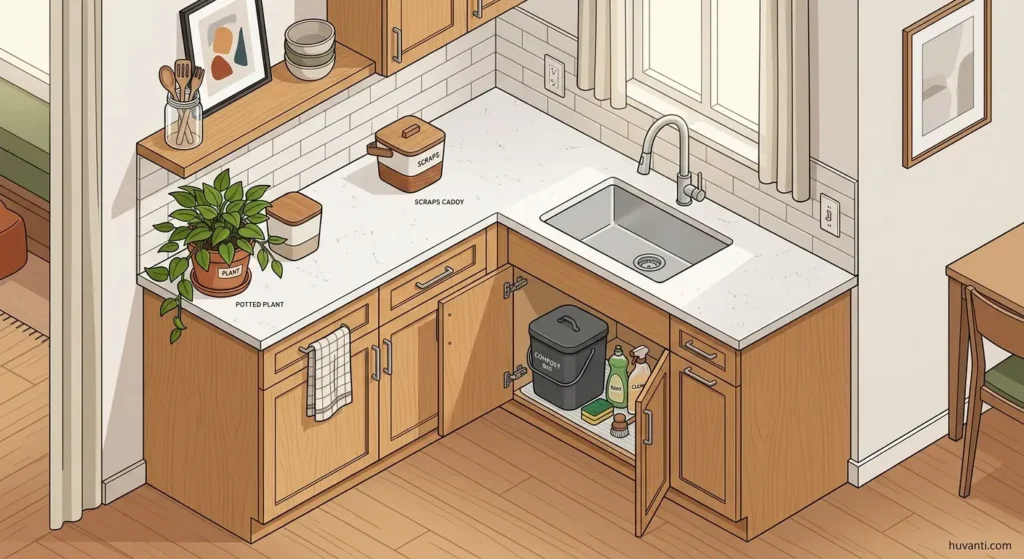
- Keep two nesting tubs in or under the sink.
- Park a scraper, brush, and cloth at arm’s reach.
- Pre-mark fill lines in the tubs.
- Put a small pitcher by the sink to control rinses.
- Agree on the house order: glasses, cutlery, plates, bowls, pans.
If you share a home, print the five-step flow and stick it near the sink. When everyone follows the same rhythm, your water stays clean longer and your sink stays clear.
When You Must Sanitize and Do It Right
Let’s zoom in on food safety for a moment. You can safely wash most dishes in warm soapy water, rinse, and air dry. That routine removes soil and most microbes well. But raw animal foods carry higher risk pathogens. For those boards and utensils, use one of the targeted sanitizing methods above. Keep a dedicated board for raw meat and a second board for produce. Color-coding makes it easy. Rinse away visible soil before you sanitize so the sanitizer can contact the surface.
If someone in your home is immunocompromised, or you’re handling infant feeding gear, lean on heat sanitizing or follow your health provider’s advice for frequency.
Hard Water and Residue Fixes That Don’t Waste Water
Hard water can make suds collapse and leave film. You can work around that without endless rinsing.
What helps:
- Use a little more soap in the wash basin, not a lot. Hard water needs a touch more surfactant.
- Add a teaspoon of washing soda to the wash basin to tie up minerals if soap seems to quit early. Rinse well.
- Use the vinegar dip from tip 12 for spot-free glasses.
- Dry on a rack with air flow. Wiping can smear minerals. If you do towel dry, use a very clean, lint-free towel.
The Simple Sink Blueprint
Picture this left to right:
- Stack area with plates scraped and nested, cutlery in a cup.
- Basin A with 2 inches of warm soapy water.
- Basin B with 2 inches of warm clean water.
- Small bowl of vinegar dip for hard water days.
- Drying rack with a tray to catch drips.
- Pitcher for targeted pour-over rinses.
- Brush and cloth on a small tray to drip dry.
That’s your whole station. Small, fast, and repeatable.
Quick Numbers: Water and Energy You Can Save
Use this as a rough guide to see your win.
Scenario A: Tap running for 10 minutes at 2.0 gallons per minute.
- Water used: about 20 gallons.
Scenario B: Two basins filled to 2 inches in standard tubs.
- Water per basin: about 2 to 3 gallons depending on tub size.
- Total wash and rinse: about 4 to 6 gallons.
- A few pitcher rinses: add 0.5 to 1 gallon.
- Total: about 4.5 to 7 gallons.
That’s less than half the water of a long running tap session. Heat less water, and your energy bill drops too.
Troubleshooting Sticky Messes Without Extra Water
- Caramelized sugar on pans: Fill the pan with 0.5 inch of hot water, add a teaspoon of baking soda, simmer 2 minutes on the stove, cool, then scrub. The brief simmer lifts sugar with little water.
- Melted cheese: Scrape, soak 10 minutes in warm water, then use a brush. Cheese breaks down with time more than force.
- Dried egg: Soak in cool water first. Hot water can set proteins and make them harder to remove.
- Tomato stain on plastic: Wash and dry, then take it outside for some sun time. Sunlight can fade the stain naturally.
Tools and Soaps That Support a Low-Waste Sink
Buy less, buy better, and maintain well.
What to look for:
- Brushes with replaceable heads so you keep the handle for years.
- Cloths made of cotton or other natural fibers you can launder hot.
- Scourers that are metal or plant-based, not acrylic.
- Solid soap bars or refills in bulk jugs to reduce small single-use bottles.
- Labels such as EPA Safer Choice or EWG Verified that signal safer chemistry.
Retire tools before they get gross. A brush that dries between uses beats a sponge that stays wet and smelly.
A Fast Routine You Can Copy Today
Time yourself with this short flow. It keeps the faucet off almost the entire time.
- Scrape and wipe every item.
- Fill Basin A with 2 inches of warm soapy water and Basin B with 2 inches of warm clean water.
- Wash glasses and cups first. Dunk, swish, scrub fast, rinse in B, rack.
- Wash cutlery, then plates and bowls. Keep dunk and rinse tight.
- Move to pots and pans. For the worst pan, add a kettle splash or baking soda paste.
- Vinegar dip for glasses if you have hard water.
- Let everything air dry. Clean your basins and tools, then you’re done.
Set a small lamp near your rack or open a window. Air flow speeds up drying and reduces spots.
Common Mistakes to Avoid
- Letting the faucet run while you scrub. Turn it off. Scrub in still water.
- Using way too much soap. More soap usually means more rinsing.
- Washing greasy pans first. You ruin your wash water early.
- Ignoring tool hygiene. Dirty sponges spread grime and odors.
- Mixing cleaners. Bleach and vinegar together release chlorine gas. Keep them apart.
Final Thoughts
You now have a complete, simple system to cut water and energy while you hand wash. You learned a sink layout that works in any home, the right order to wash, how to use minimal rinses, how to pick safer soaps and longer-lasting tools, when sanitizing is worth it, and even how to reuse greywater safely where it’s allowed.
Pick three of the tips and try them tonight. Then fold in more over the week. Small steps add up. And if you came here for eco-friendly ways to wash dishes by hand that don’t feel like extra work, I hope this guide gave you a routine that’s cleaner for your kitchen and kinder to the planet.